Curtain Rod Installation Services for Property Owners
This page explains how local service providers handle curtain rod installation and helps property owners compare options.
- - Curtain rod installation services for homeowners seeking professional setup in residential spaces.
- - Local contractors specializing in hanging and securing curtain rods for various window types.
- - Service providers available to assist with custom or standard curtain rod installation projects.
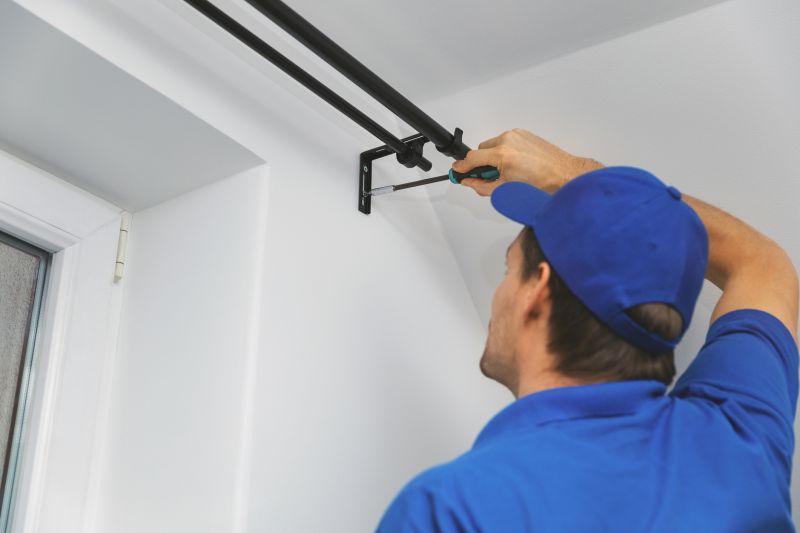
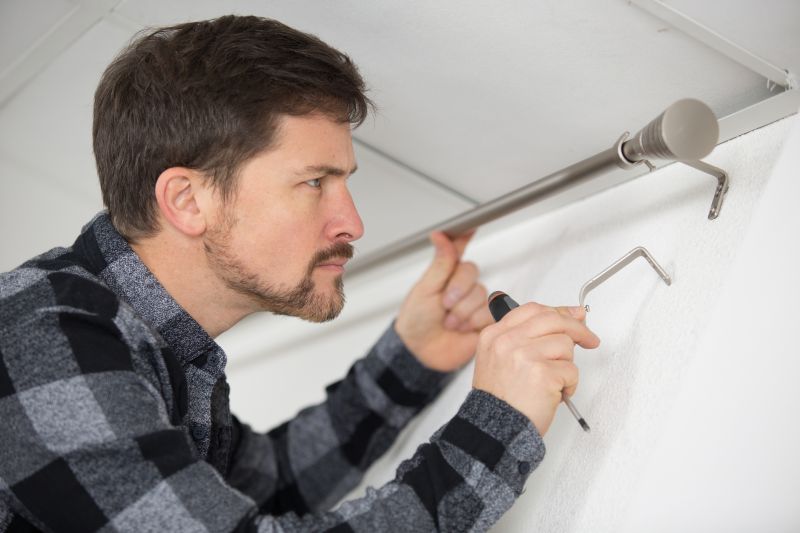
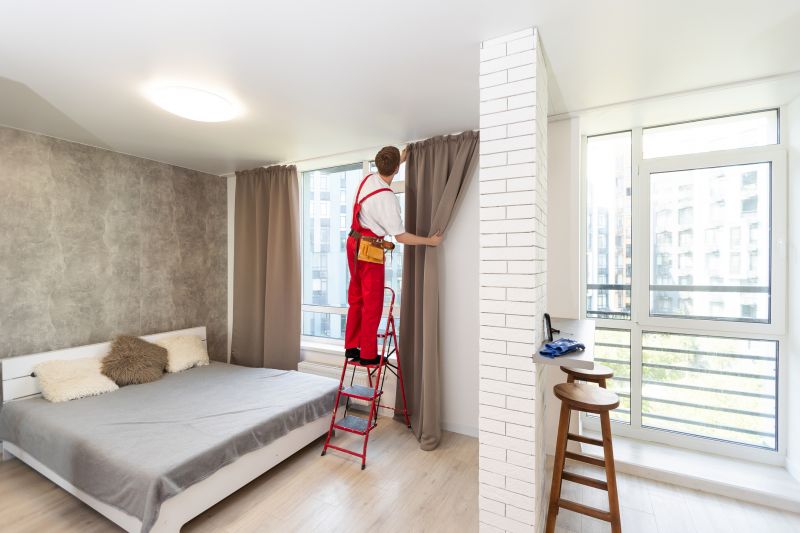
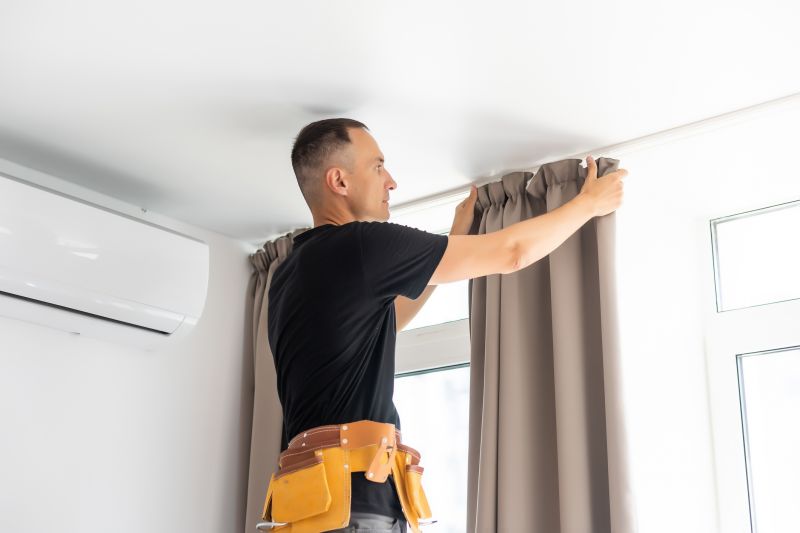
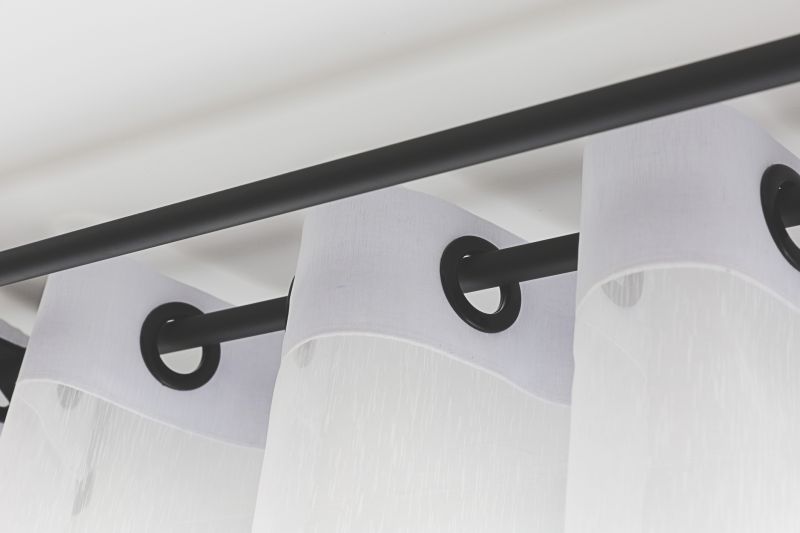
Curtain rod installation is a common home improvement task that involves properly measuring, selecting, and securely mounting curtain rods to enhance the functionality and appearance of a room. Local contractors and service providers who specialize in this work are experienced in handling different types of wall surfaces, window sizes, and design preferences. Property owners often seek professional help to ensure that curtain rods are installed level, stable, and capable of supporting various curtain weights, whether for decorative drapes or blackout shades.
Connecting with local pros who offer curtain rod installation services provides access to experienced individuals familiar with the nuances of different installation scenarios. These professionals can assist with tasks such as measuring for proper fit, choosing suitable mounting hardware, and ensuring the finished result is both functional and visually appealing. Property owners can expect straightforward service from local contractors who handle the work efficiently and with attention to detail, making it easier to achieve the desired look and performance for window treatments.
This guide provides helpful information to understand the key aspects of curtain rod installation projects. It assists in comparing local service providers and understanding what to expect from professional contractors. The goal is to help visitors prepare to share the basics of their project when connecting with local experts.